Company management
When you purchase your first NoPass™ subscription, a Company instance is created. You as an administrator get access to the Company Admin Console where you can create Workspaces and set up Services.
select the company to work with
When entering the Admin Console for the first time, you choose your subscription plan and create your first company. For more details, go to Subscriptions.
To manage your chosen Company next time, perform the following steps:
Procedure
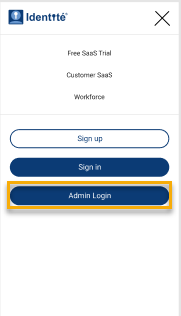
1. Open the NoPass.us page on your desktop computer or your mobile device and perform one of the following actions:
- On your desktop, click Admin Login.
- On your mobile device, tap the hamburger menu in the upper right corner of your screen and tap Admin Login.
Desktop view Mobile view

2. On the authentication page, enter your login and click Sign in.
Desktop view Mobile view


i. On your desktop, perform one of the following actions:
- Enter your login and click Sign in.
- Click the Google icon to sign in with your Google account and choose the Google account that was used for the Profile creation or create a new Google account.
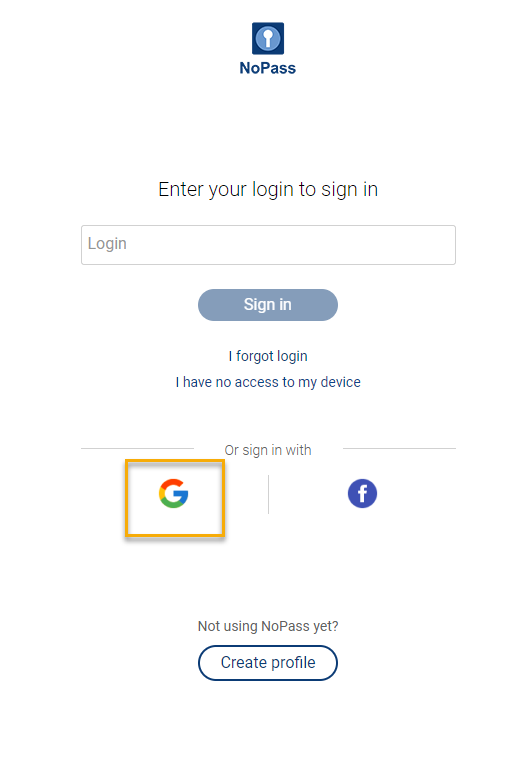
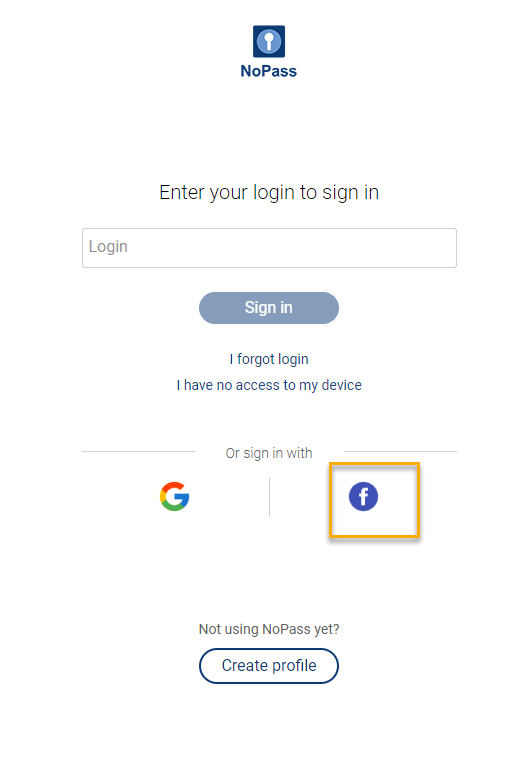
- Click the Facebook icon, sign in to your Facebook account or create a new account. Remember to register your Facebook account with your valid email address, otherwise, your Facebook account won't be available to the NoPass™ app.
ii. On your mobile device, perform one of the following actions:
- Enter your login and tap Sign in.

- Tap the Google icon to register with your Google account and choose the Google account that you plan to use for the Profile creation. Remember that you will have to choose the same Google account to sign in to your Profile in the future.
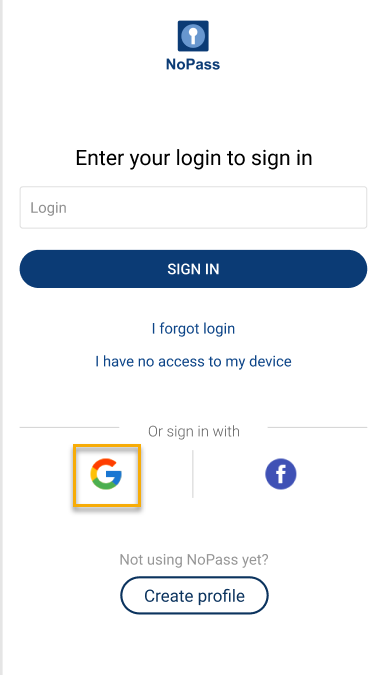
- Tap the Facebook icon, sign in to your Facebook account or create a new account. Remember to register your Facebook account with your valid email address, otherwise, your Facebook account won't be available to the NoPass™ app.
3. To complete the authentication process, accept the push notification:
i. On your desktop computer:
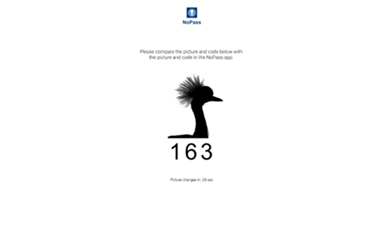
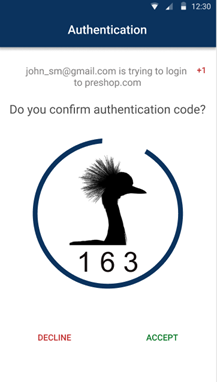
- Compare the picture and three-digit code on your login page with the one appearing on any of your signed-in to NoPass™ profile devices. If they are the same, tap Accept on the push notification on your mobile device or click Accept in the NoPass™ Desktop application.
Compare the push notifications on the login page and your mobile or desktop device:
| Admin Console login page | Mobile device | Desktop |
 |
 |
 |
ii. On your mobile device:
- Compare the push notification on your mobile device with the one appearing on any of your signed-in to NoPass™ profile devices. If they are the same, tap Accept on the push notification on your mobile device.
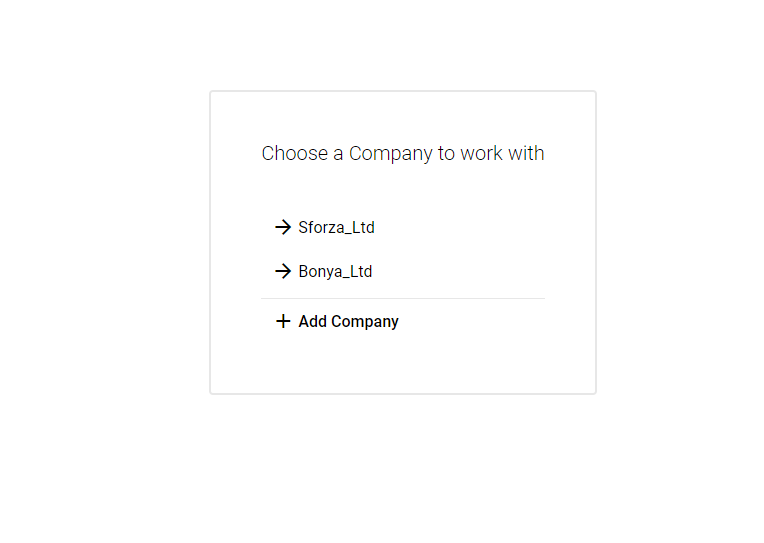
4. Select the company from the list of created Companies or click +Add Company.
Settings
As a Company administrator, you can customize your services in several ways. You can apply your Company’s branding to a peculiar NoPass™ Scan QR page, for instance, add your Company logo and change the button color. Custom branding allows you to change the email that your users will receive after you invite them to register accounts in your services with NoPass™.
Procedure
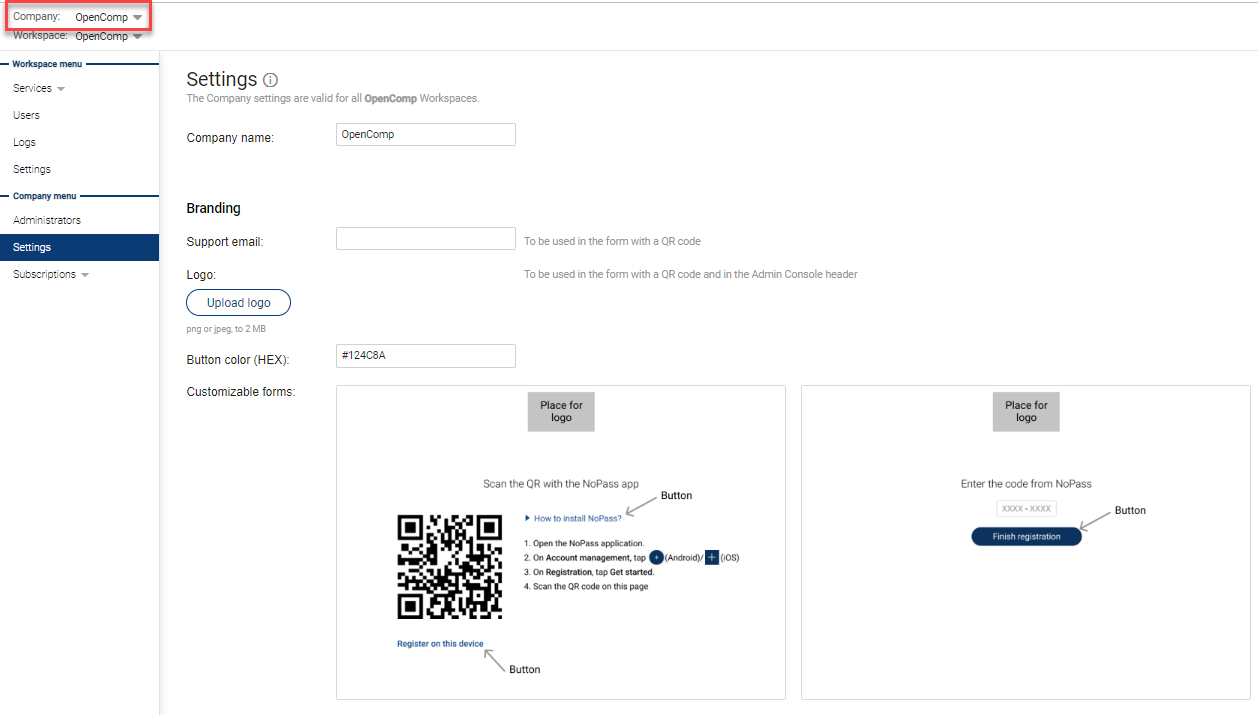
1. In the NoPass™ Admin Console, go to Settings in the Company menu:

2. Enter your corporate email in the Support email box, so that users of your services could contact you if they need help.
![]()
3. Click Upload logo to upload your Company logo file in .jpeg or .png format. The size of your logo file should not exceed 2Mb.
![]()
4. Change the color of the buttons for the Scan QR page in the Button color field, note that Hex color codes should be used.
![]()
5. Change the email subject and text to customize the notification email that would be sent to your users during registration.

6. Click Apply to save your changes.
All changes in the Company settings are applied to all Workspaces of your Company.
Add a Company
You can add your company directly from the Admin Console.
Procedure
1. On the Settings page, click the name of your company.
2. In the drop-down list, click +Add company.

3. To select the Subscription plan for your Company, perform one of the following actions:
- Subscribe to a Custom plan
1) To subscribe to a Custom plan, click Get custom quote.
2) Fill in the following form and click Submit.
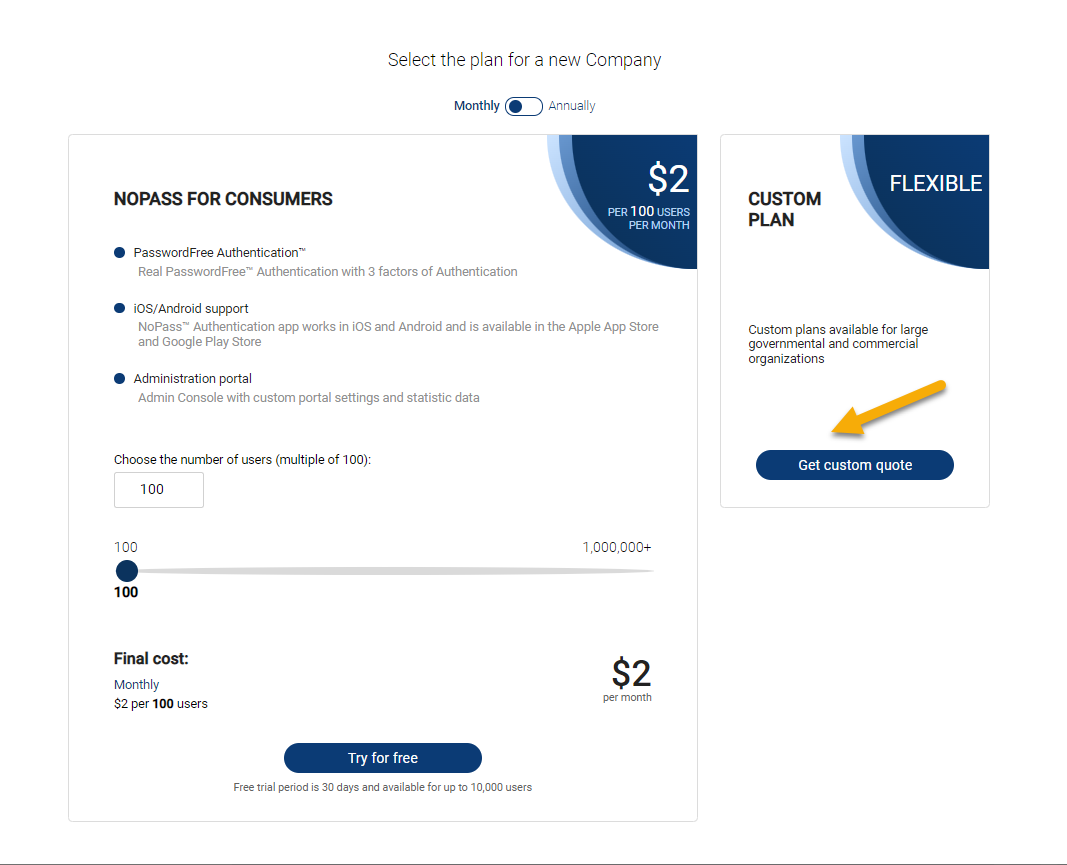
- Subscribe to a Standard plan with a trial period
The standard plan includes a 30-day trial period available for Subscriptions with the number of users not exceeding 10,000.
1) To start a trial period, set up the number of users by:
- moving the slider

- clicking the up-down controls

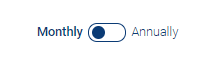
2) Select the type of payment: monthly or annually by moving the toggle.
3) Click Try for free.

4) Review the information on your Subscription and perform one of the following actions:

- If you are authorized to perform the payment, click Subscribe.
- Otherwise, click Delegate payment.
5) On the payment screen, perform the following actions:
If you are authorized to perform the payment:
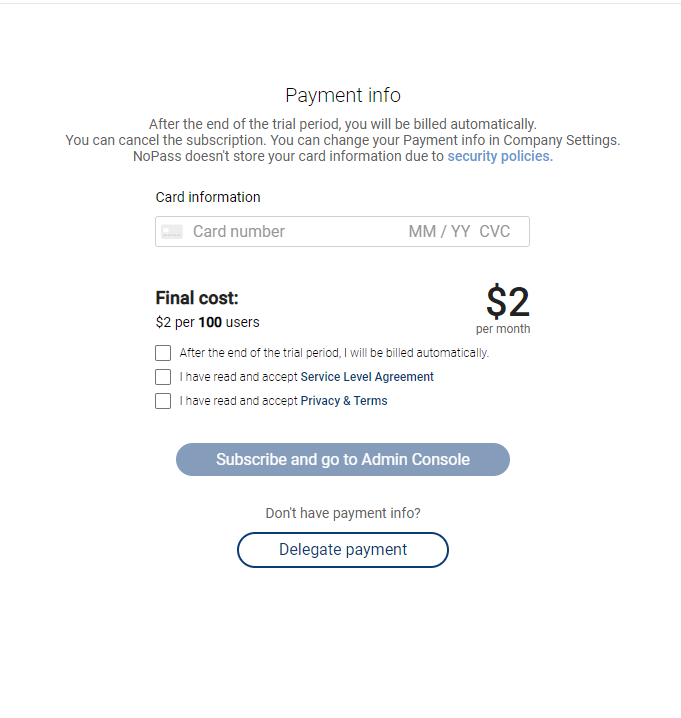
i. Fill in the Card information fields with the payment card details.
ii. Select the After the end of the trial period, I will be billed automatically, I have read and accept the Service Level Agreement, and the I have read and accept Privacy and Terms check boxes.
iii. Click or tap Subscribe and go to Admin Console.
If you don't have payment information:
i. Click Delegate payment.
ii. Type the email address of your financial manager and click or tap Send email.
6) After the payment procedure is completed, your Company is successfully created and you can begin work in your Admin Console.

- Subscribe to a Standard plan without a trial period
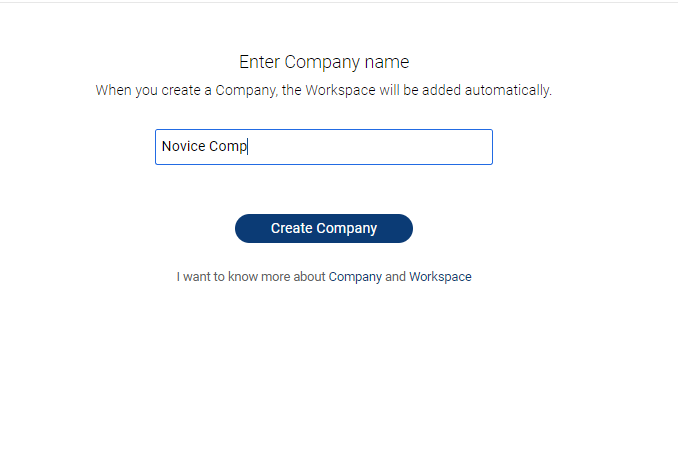
1) If you set up the number of users exceeding 10,000 users, the Subscription shall not offer a trial period. Then, click Buy now.
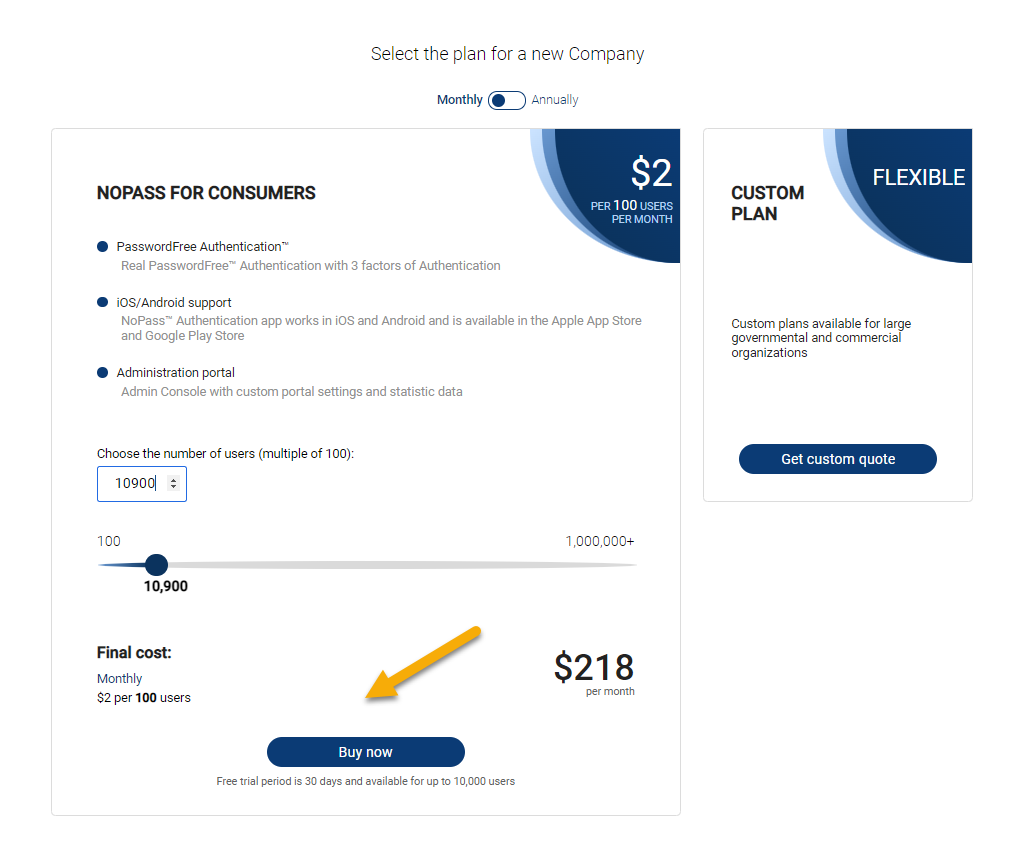
2) Enter the name of your Company and click Create Company.
- 3) After the Company is created, perform the payment. First, review the payment information and perform one of the steps below.
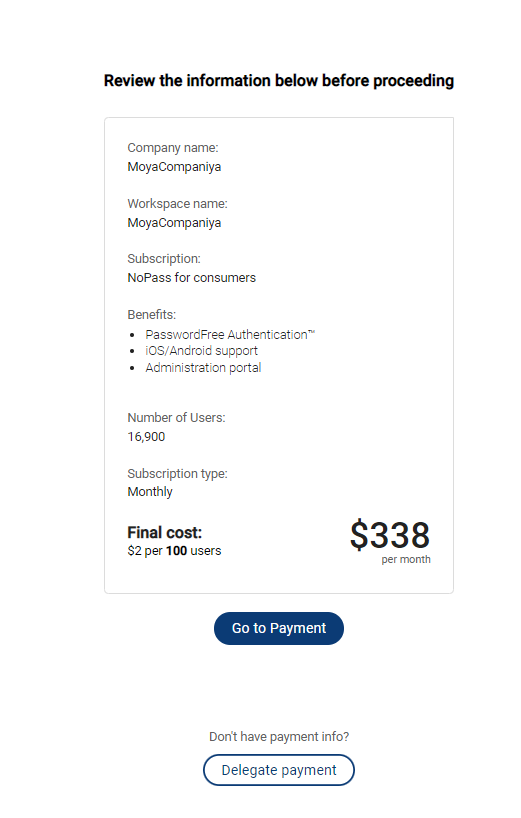
-
- If you are authorized to perform the payment, click Go to Payment.
- Otherwise, click Delegate payment.
4) On the payment screen, perform the following actions:
If you are authorized to perform the payment:
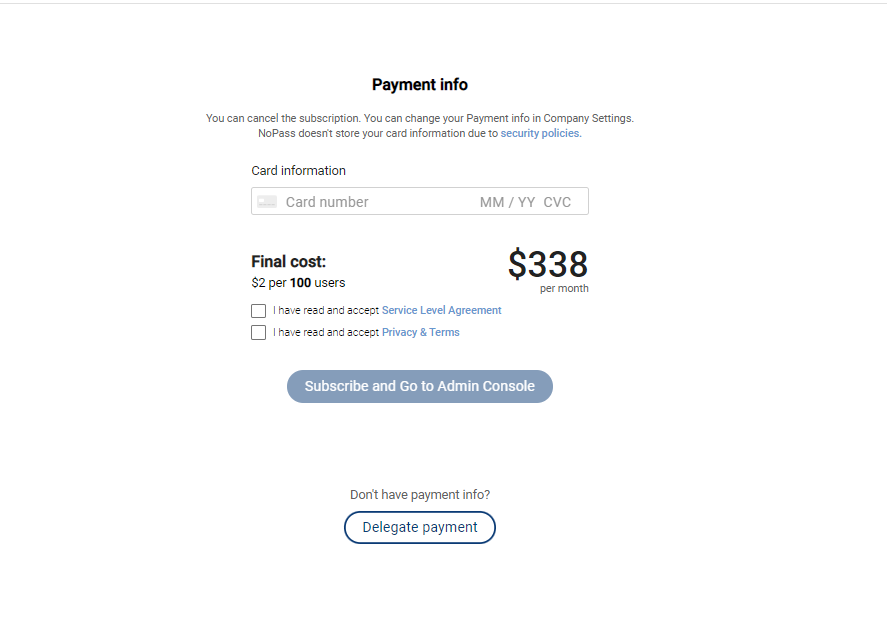
i. Fill in the Card information fields with the payment card details.
ii. Select the I have read and accept the Service Level Agreement and the I have read and accept Privacy and Terms check boxes.
iii. Click or tap Subscribe and go to Admin Console.
If you don't have payment information:
i. Click Delegate payment.
ii. Type the email address of your financial manager and click or tap Send email.

iii. After your financial manager receives the email, they should sign in to an existing profile or register a new profile with NoPass™ (see Create profile) and confirm the payment information. Meanwhile, the Company to be created has the Waiting for approval status.
iv. In case the Owner has deleted the Company with the Waiting for approval status before payment was effected, the financial manager follows the link from the delegation email message and receives the following notification:

For more details, go to Deleting the waiting for approval company .
v. In case the financial manager is not authorized to perform the payment, they can delegate payment. Otherwise, the financial manager shall fill in the Card information in the following window, select the I have read and accept the Service Level Agreement and I have read and accept Privacy and Terms check boxes, and click Subscribe and go to Admin console.
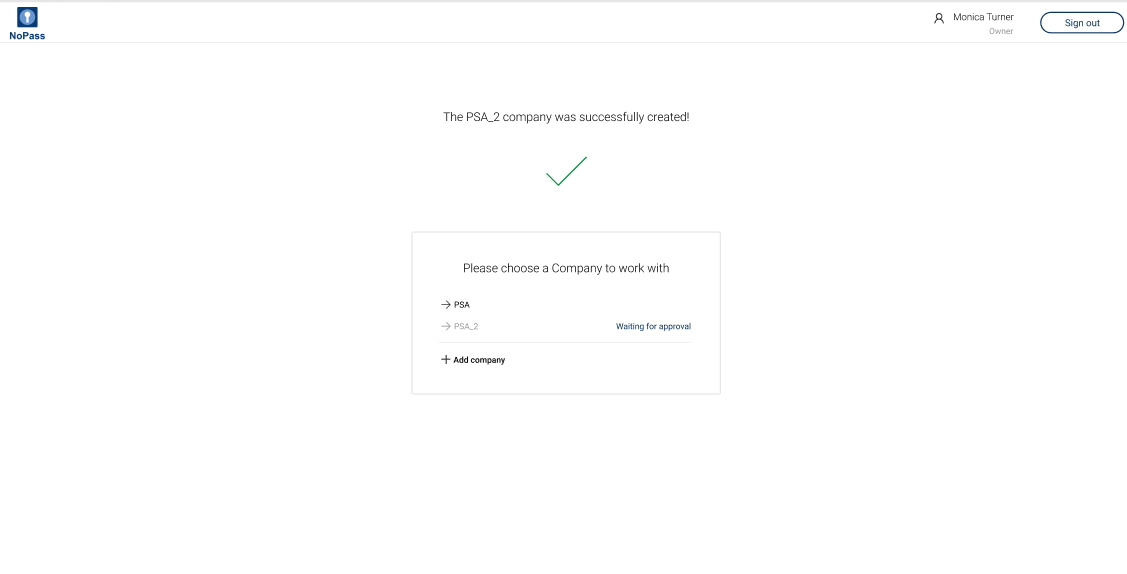
5) After the payment procedure is completed, your Company is successfully created and you can begin work in your Admin Console.
: The Company name shall represent a random list of symbols. You can change the Company name in Settings.For more information on Companies, go to Subscriptions.
Delete a Company
In case you don’t plan to use NoPass™ services anymore, you can delete your Company. The removal of the Company is irreversible. You can delete both a created company and a company in the Waiting for approval status.
You are signed out from NoPass™ Admin Console and have no longer access there, but you still have your NoPass™ profile registered.
The Services are unavailable to users.
deleting a created company
Procedure
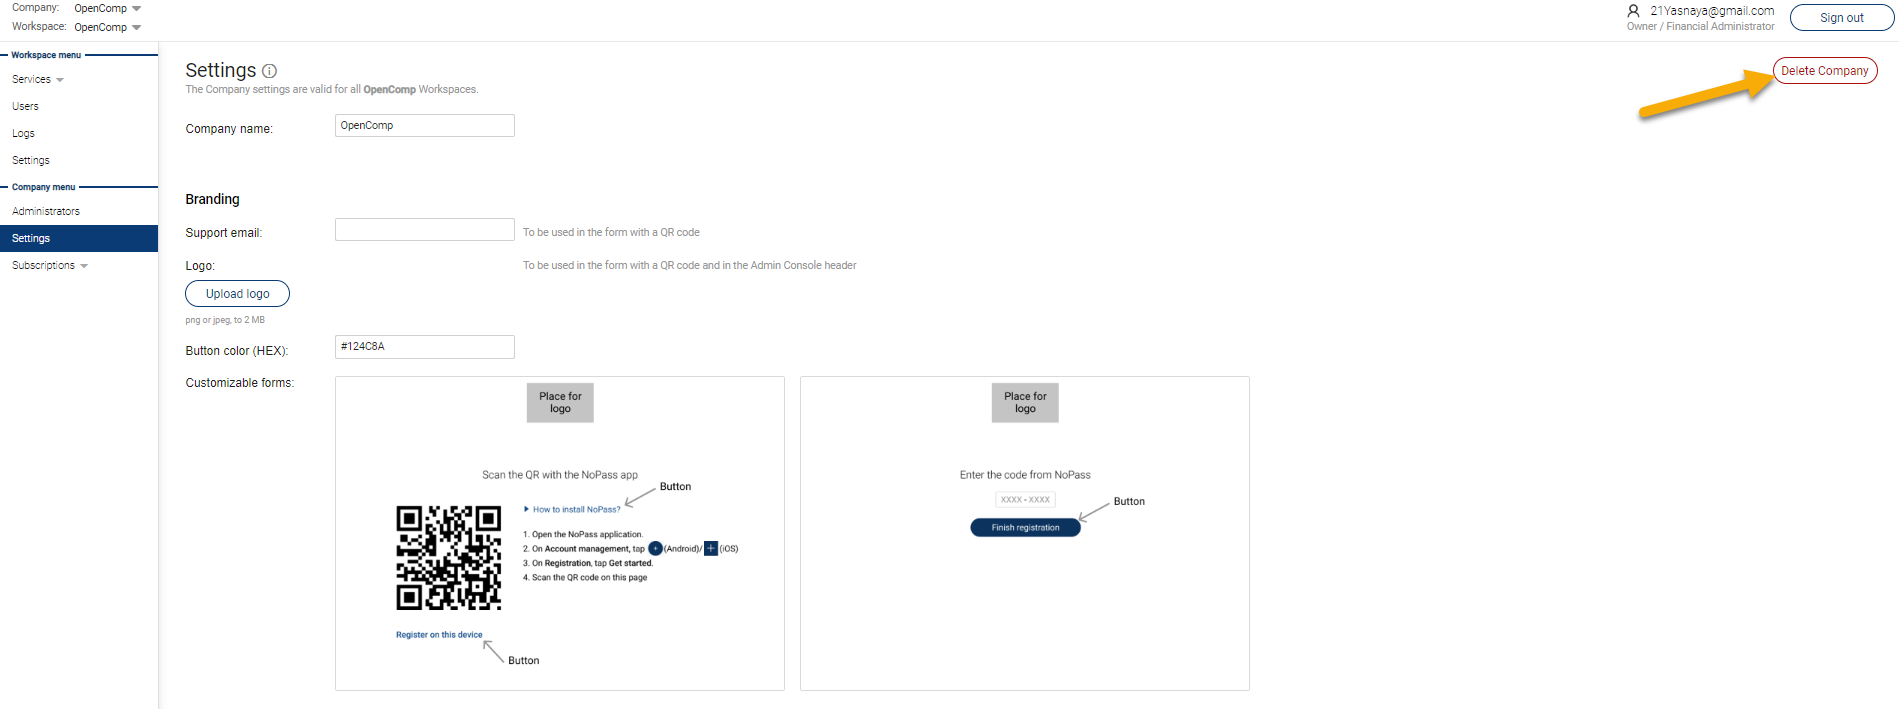
1. Go to Settings in the Company menu of the NoPass™ Admin Console.
2. Click the Delete company button in the upper right corner of the page.
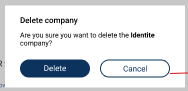
3. In the dialogue box, confirm your action and click the Delete button.
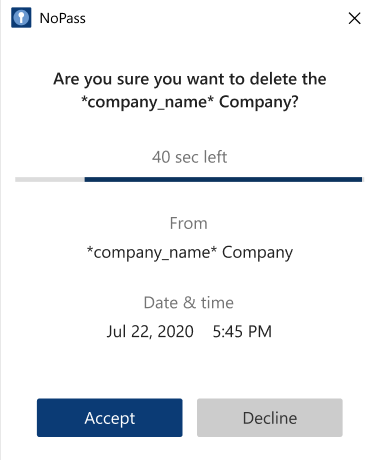
4. A push notification is sent to your mobile device or the NoPass™ Desktop application. Tap Accept on your mobile device or click Accept in the Desktop application.
Mobile app notification Desktop app notification

5. After your Company is deleted, you are asked to take a short survey on the reasons for deleting. Click Take a short survey and answer the questions.
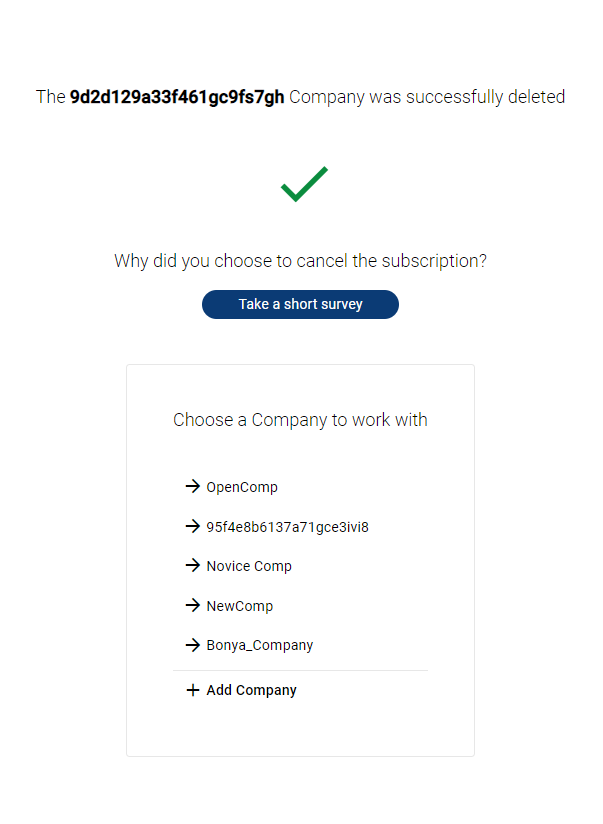
6. If you don't want to answer the questions, click Skip, otherwise click Send.

Now you can choose the Company to work with.
Deleting the waiting for approval company
Procedure
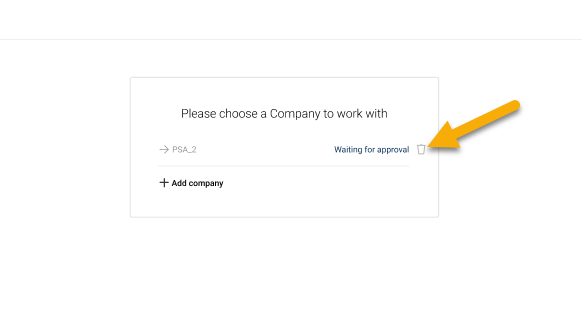
1. Before payment, the Company to be created is displayed in the Company list with the Waiting for approval status.
2. To delete the Company with the Waiting for approval status, click ![]() Delete.
Delete.
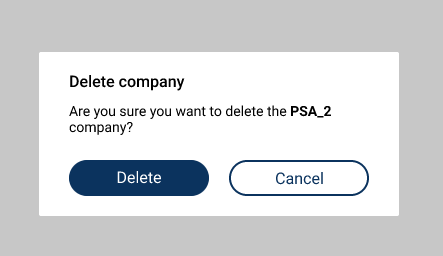
3. In the following dialogue box, click Delete.
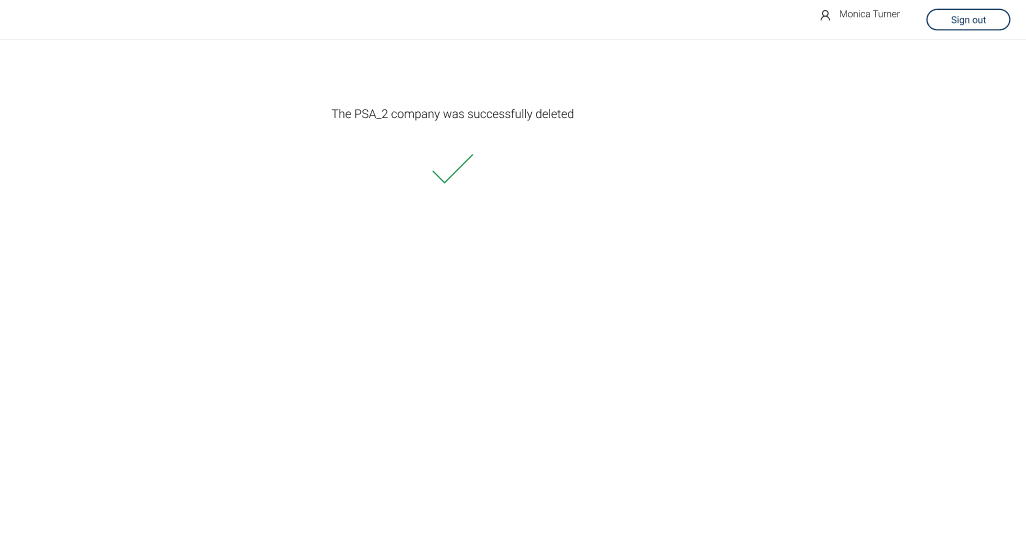
4. Then the following notification is displayed.
next topic: Work with Workspaces
previous topic: Delegating Ownership