Administrators
NoPass™ Admin Console provides you with a set of administrator roles that enables a wide range of administrative tasks: create NoPass™ Workspace services and manage Workspace settings; add, change or remove users, assign administrator roles, manage subscriptions, and others. Each of the administrator roles has its own set of permissions, however, each administrator is granted access to the NoPass™ Admin Console and should have a NoPass™ profile registered.
To learn how to get access to NoPass™ Admin Console, see Sign in to Admin Console.
Administrator roles
The user can be assigned to one of the following administrator roles in the NoPass™ Admin Console:
|
Role |
Description |
|
Owner |
The administrator is assigned to the Owner role while creating a new Company. One and only one administrator can be assigned to the Owner role. The administrator with the Owner role can not be removed. The Owner role grants full access to all NoPass™ Admin Console options. Only the Owner has the privilege to create and delete Financial Administrators and only the Owner can remove the Company. |
|
Technical Administrator |
Technical Administrator is responsible for services implementation and maintenance, settings adjustment, and user management. The administrators with the Technical Administrator role can create and delete other Technical Administrators. The Subscriptions menu item is available to Technical Administrators only in the read mode while the Payment info is not available at all. |
|
Financial Administrator |
Financial Administrator can view and manage subscriptions as well as make changes in payment info. At the same time, the Subscription menu item is the only option available for Financial Administrators in NoPass™ Admin Console. |
Administrator roles and permissions
| Role/Permission | Owner | Technical Administrator | Financial Administrator |
| Manage Company settings | ● | ● | |
| Add Companies | ● | ● | ● |
| Delete Companies | ● | ||
| Create and remove Workspaces | ● | ● | |
| Manage Workspace settings | ● | ● | |
| Add, edit and remove Services | ● | ● | |
| Manage users | ● | ● | |
| View logs | ● | ● | |
| View reports | ● | ● | |
| Create and delete Technical Administrators | ● | ● | |
| Create and delete Financial Administrators | ● | ||
| View Subscriptions | ● | ● | ● |
| Change Subscriptions details, approve Subscriptions | ● | ||
| Cancel Subscriptions | ● | ||
| View and change payment info | ● |
Add administrators
As an administrator of the NoPass™ Admin Console, you can create administrators by your privileges.
The following procedure describes how the Owner can add an Administrator
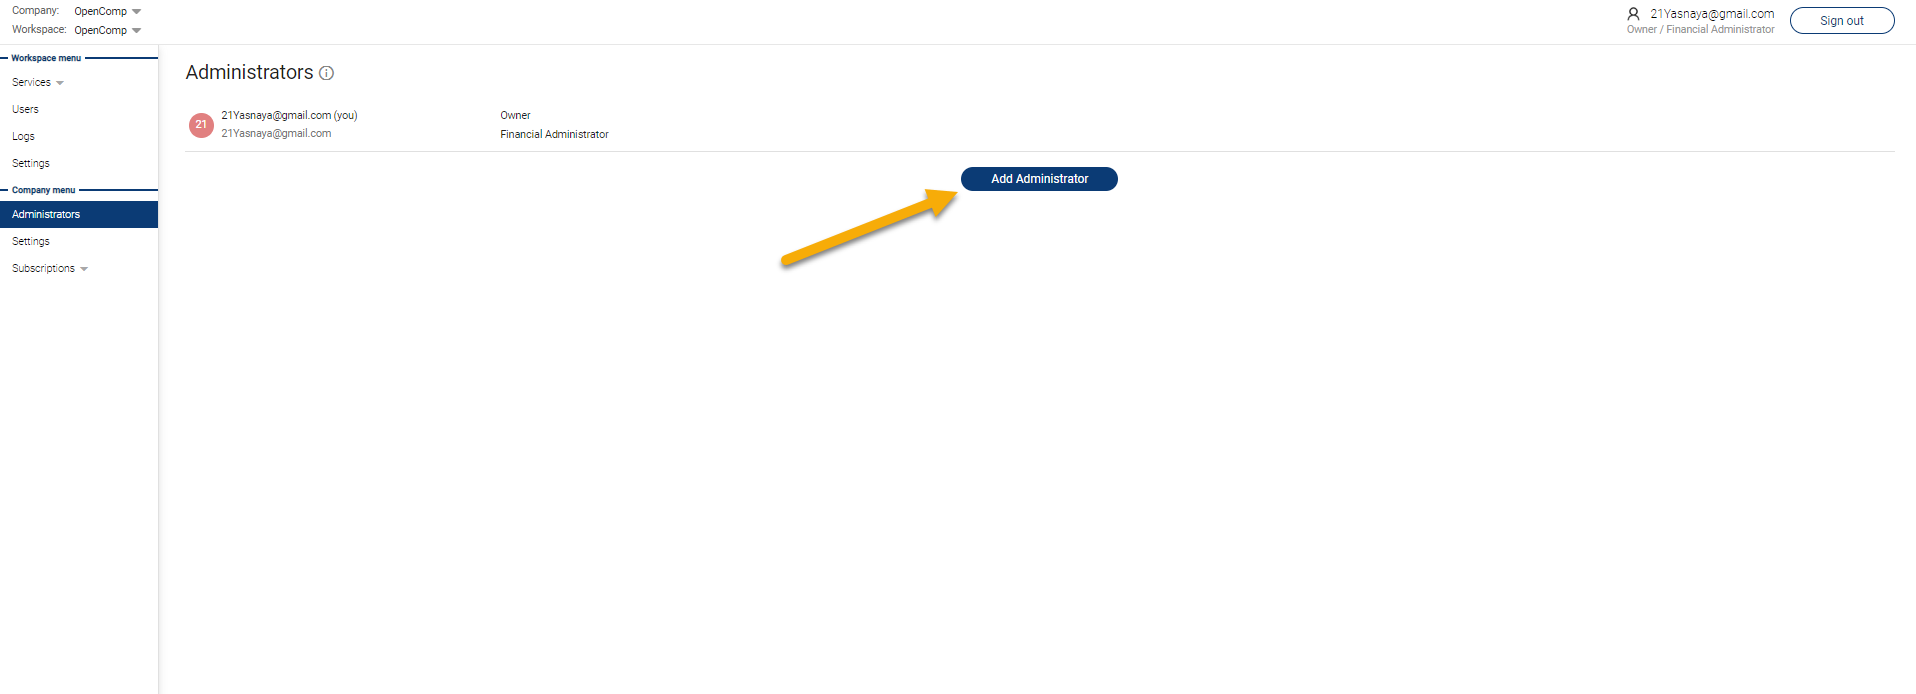
1. In the NoPass™ Admin Console, go to Administrators.
2. Click Add Administrator.
3. In the following dialogue box, enter the email of the user you would like to assign to an Administrator role and select what kind of a role it should be. Then click Add.

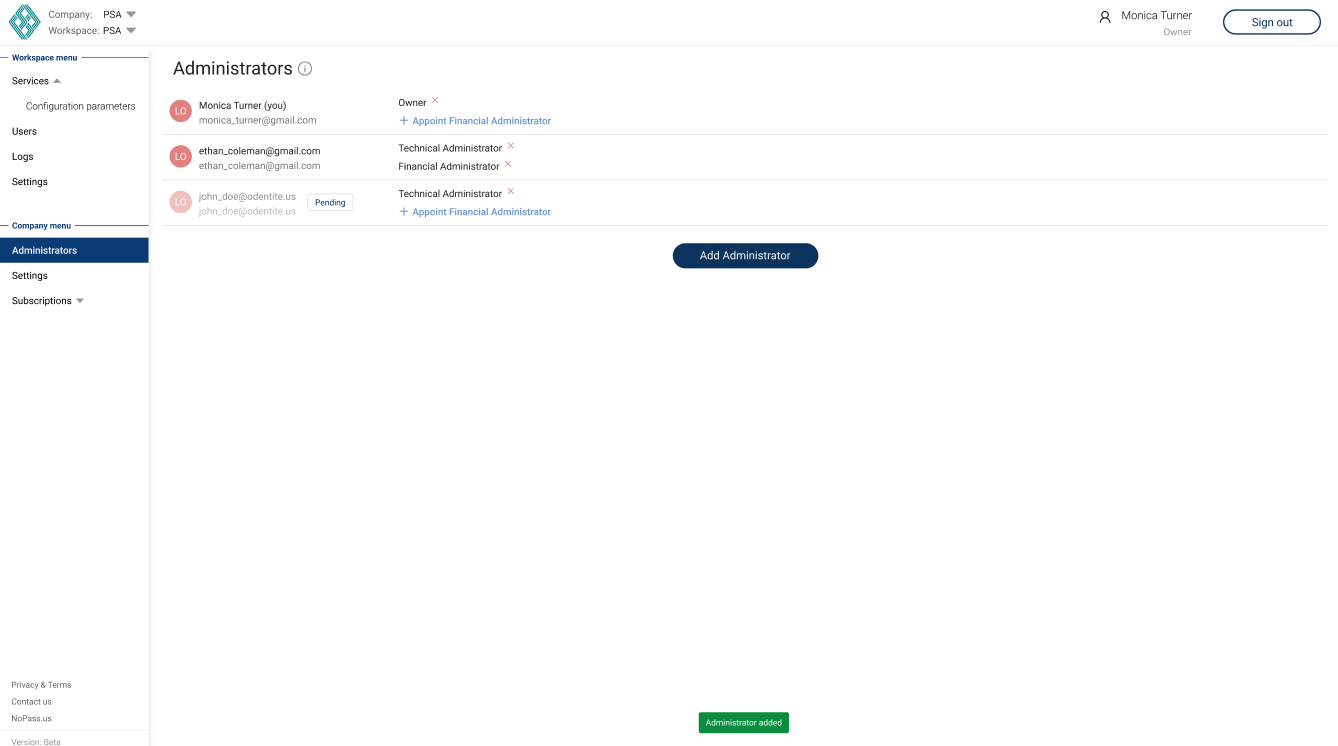
4. If the new Administrator has no profile, they shall have the status Pending until the NoPass™ profile is created.
The following procedure describes how the Technical Administrator can add another Technical Administrator.
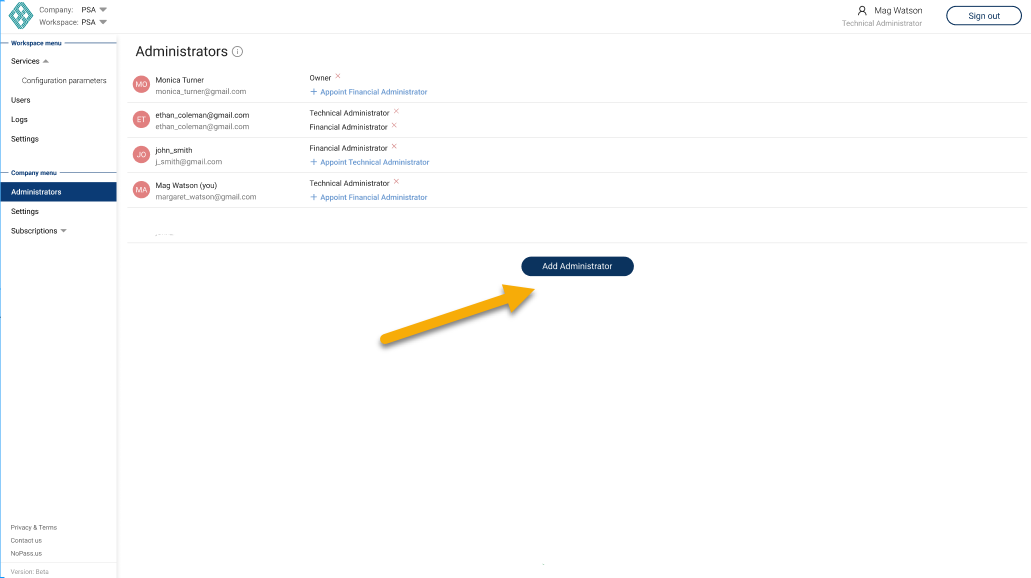
1. In the NoPass™ Admin Console, go to Administrators.
2. Click Add Administrator.
3. In the following dialogue box, enter the email of the user you would like to assign to the Technical Administrator role and click Add.

4. If the new Technical Administrator has no profile, they shall have the status Pending until the NoPass™ profile is created.

add a new role to the administrator
One administrator can be assigned both Technical Administrator and Financial Administrator roles. However, the Owner role grants full access to NoPass™ Admin Console functionality and there is no need in assigning the Owner to any other role.
The following procedure describes how the Owner can add a new role to the Administrator.
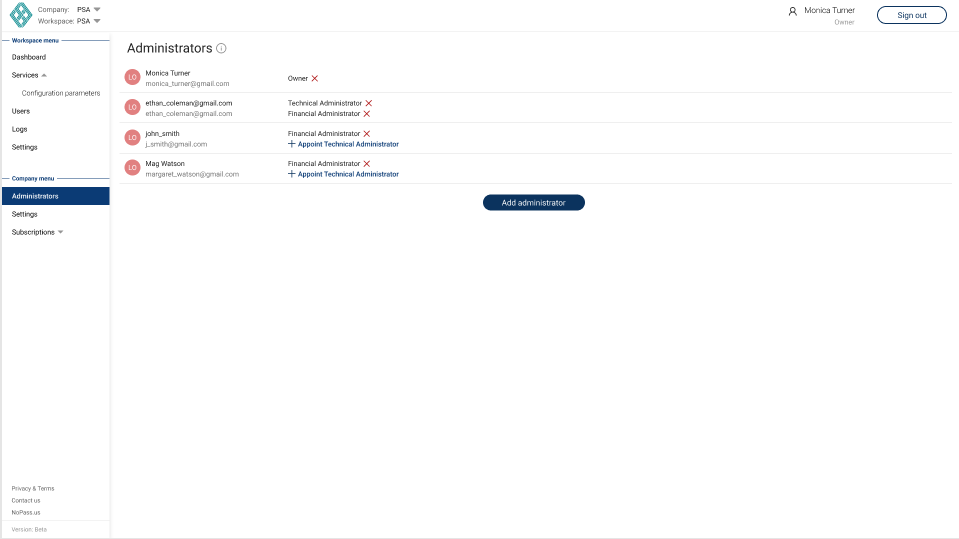
1. In the NoPass™ Admin Console, go to Administrators.
2. Select the Administrator you would like to assign a new role to.
3. Perform one of the following actions:
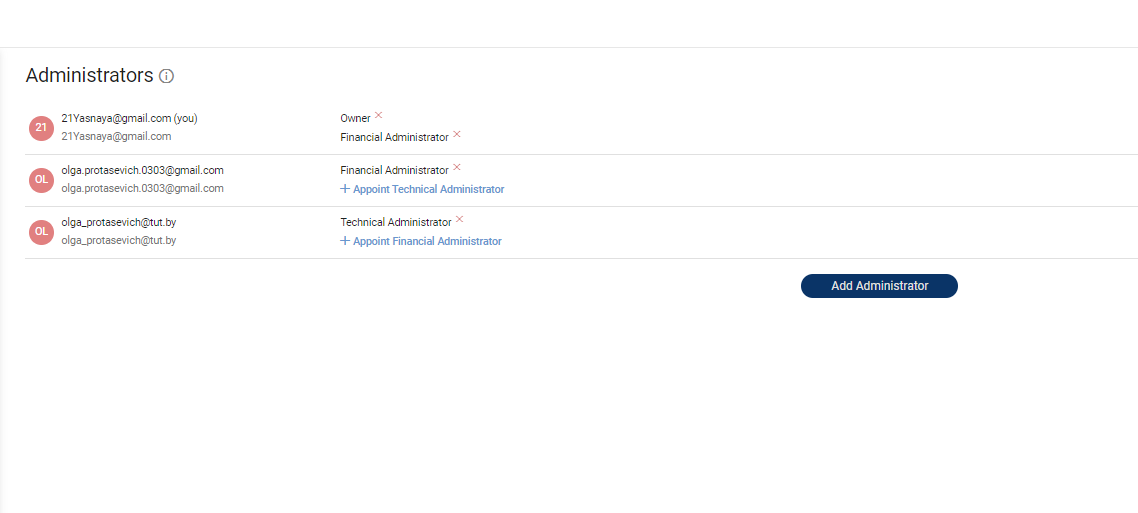
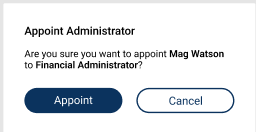
- To add the Financial Administrator role, click +Appoint Financial Administrator.
- To add the Technical Administrator role, click +Appoint Technical Administrator.
4. To confirm your action, click Appoint in the following dialogue box.
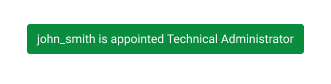
5. The new role shall be displayed against the Administrator's name and the following notice shall be displayed at the bottom of the page.

6. Next time the Administrator with added role enters the Admin Console of the given Company, the following notification is displayed.

7. The new role is added to the list of Administrator's roles after clicking OK.
The following procedure describes how the Technical Administrator can add the Technical Administrator role to the Financial Administrator.
1. In the NoPass™ Admin Console, go to Administrators.

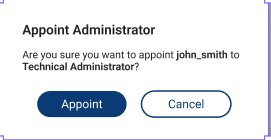
2. Select the Administrator you would like to appoint the Technical Administrator and click +Appoint Technical Administrator.
3. To confirm your action, click Appoint in the following dialogue box.
4. The new role shall be displayed against the Administrator's name and the following notice shall be displayed at the bottom of the page.
Delete the administrator roles
deleting one of the administrator roles
Procedure
1. To delete the administrator role, go to Administrators in the NoPass™ Admin Console.
2. Select the Administrator role you would like to delete and click  Delete.
3. To confirm your action, click Delete in the following dialogue box.

4. Instead of the deleted role, the +Appoint Financial Administrator or +Appoint Technical Administrator options are displayed. The following notification is displayed at the bottom of the page.

5. Next time the Administrator with deleted role enters the Admin Console of the given Company, the following notification is displayed.

deleting the last role
Procedure
1. Select the Administrator role you want to delete and click Delete.
2. To confirm your action, click Delete in the following dialogue box.

3. The following notification is displayed at the bottom of the page.

4. Next time the Administrator with deleted role enters the Admin Console of the given Company, the following notification is displayed.
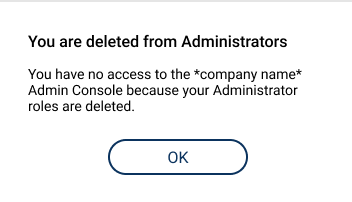
5. After clicking OK, one of the two actions can occur:
- If the deleted Administrator has another company to work with, the Administrator is redirected to the following page:

- Otherwise, the deleted Administrator is redirected to the landing page.
deleting the last financial administrator ROLE
Procedure
1. Select the Financial Administrator you would like to delete and click Delete.
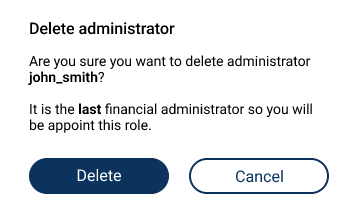
2. In one of the following dialogue boxes, click Delete.
- In case the Financial Administrator to be deleted has another Administrator role, the following dialogue box is displayed.
- In case the Financial Administrator to be deleted has no other Administrator role, the following dialogue box is displayed.

3. Then, one of the following notices is displayed at the bottom of the page.
- In case the deleted Financial Administrator has another Administrator role, the following notification is displayed at the bottom of the page.

- In case the deleted Financial Administrator has no other Administrator role, the following notification is displayed at the bottom of the page.

4. Now you as the Owner will have the Financial Administrator role.
deleting one's own technical administrator role
The following procedure describes how the Technical Administrator can delete their own role.
1. To delete your own Technical Administrator role, go to Administrators in the NoPass™ Admin Console.
2. Click Delete against your Administrator name.
If the Technical Administrator role is the only role you have, perform the following steps:
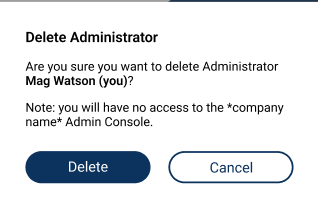
i. To confirm your action, click Delete in the following dialogue box.
ii. After deleting is confirmed, one of the two actions can occur:
- If you have another company to work with, you are redirected to the following page:

- Otherwise, you are redirected to the landing page.
If you have the Financial Administrator role apart from the Technical Administrator role, perform the following steps:
i. To confirm your action, click Delete in the following dialogue box.

ii. You are redirected to the Subscriptions page and the following notification is displayed at the bottom of the page.
next topic: Delegating Ownership
previous topic: Subscriptions