User registration
With the PasswordFree™ plugin, you can register without passwords on WordPress websites where the PasswordFree™ plugin is integrated.
Preconditions
- The PasswordFree™ plugin is installed and activated on the WordPress website where you want to create your account.
- The default user registration is activated on the website (see step 7 of Results of plugin activation in the Install and activate the PasswordFree™ plugin without cust section).
- The Sign in PasswordFree and Sign up PasswordFree buttons are available on the website.
Procedure
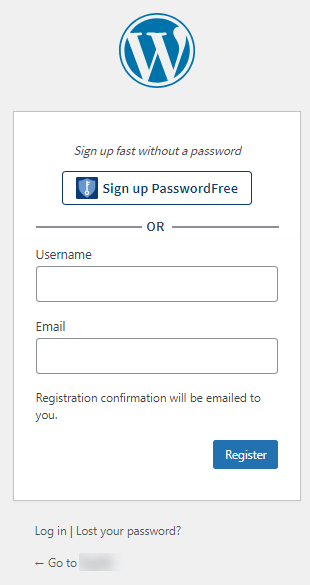
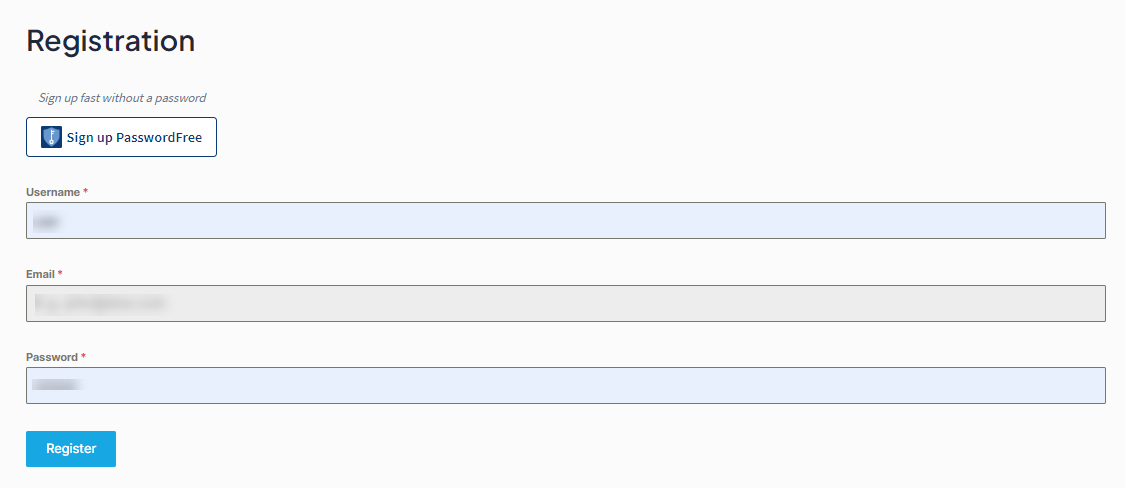
1. To register your account, navigate to the Registration page.
Default registration page
Sample registration page
2. Click the Sign up PasswordFree button. The following page is displayed.
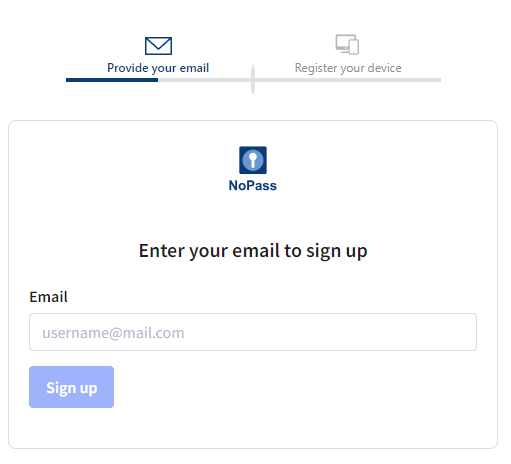
3. Enter your valid email address and click Sign up.
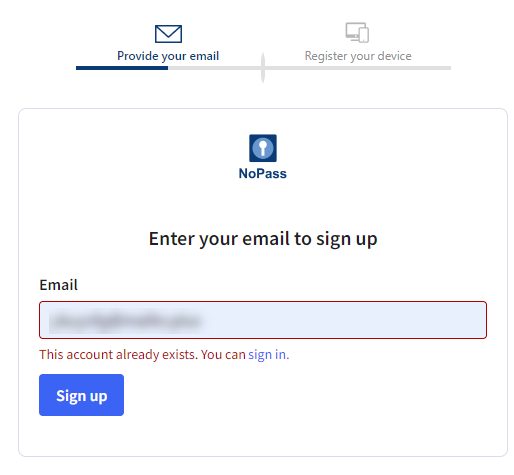
4. If you have already created your account, the following notification is displayed:
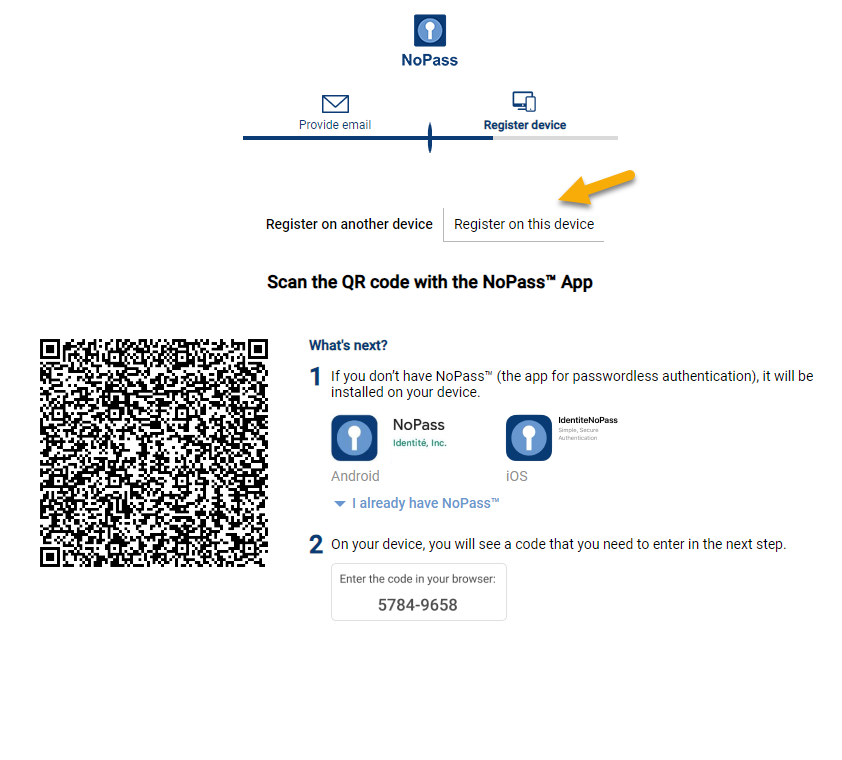
5. Otherwise, you are redirected to the QR-code page.
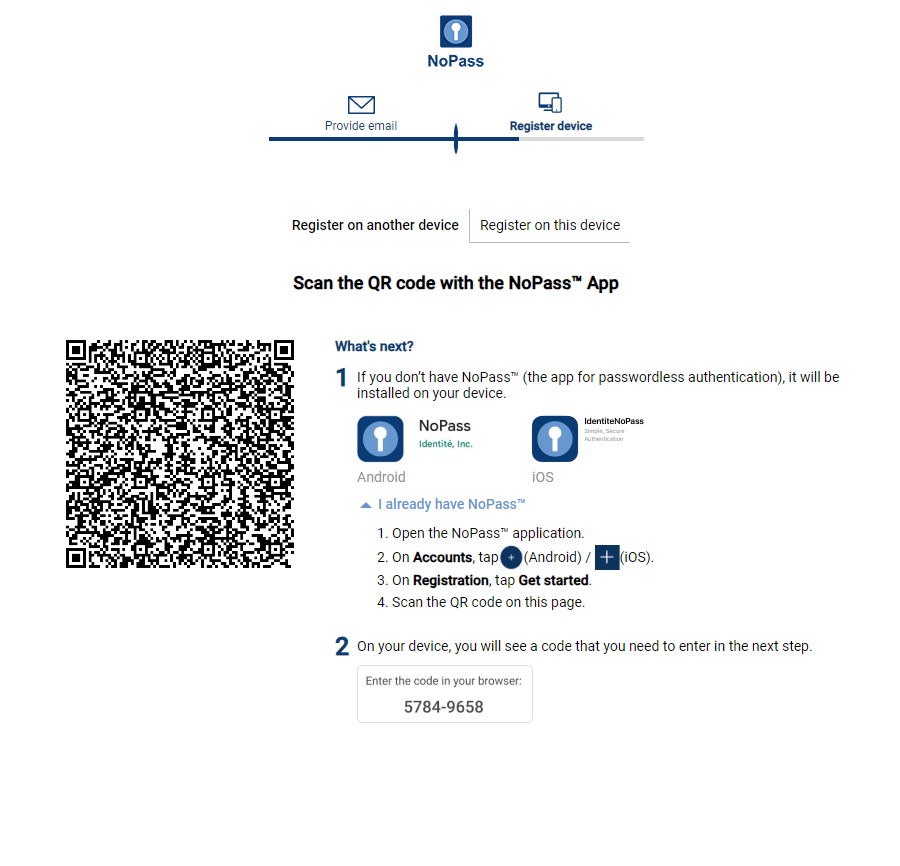
On the QR-code page, perform one of the following procedures.
Procedure 1: Install the NoPass™ mobile app on your smartphone
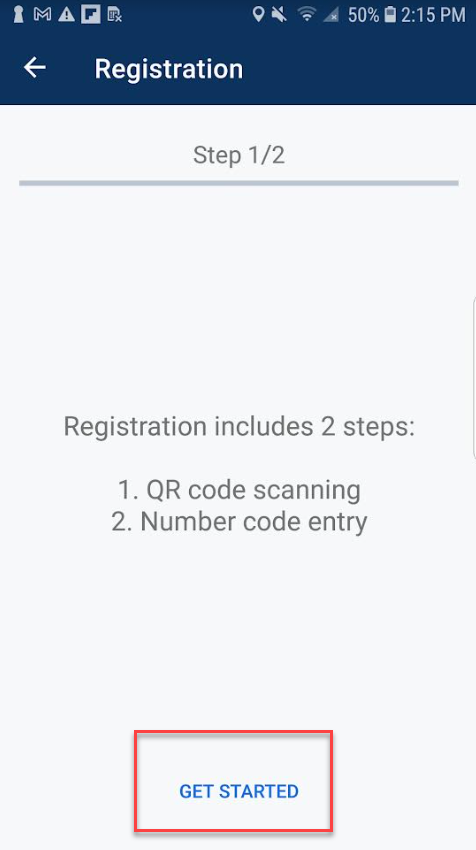
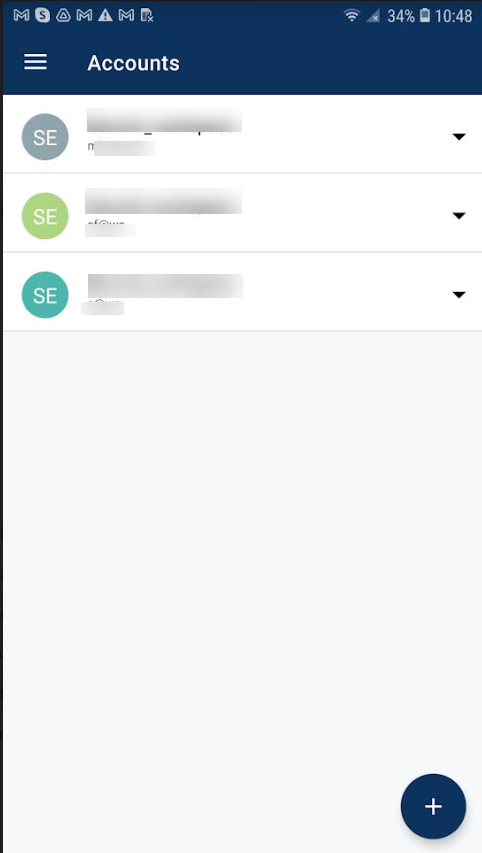
1) After the NoPass™ mobile app is installed, navigate to the Accounts screen and tap the + sign.
2) On the Registration screen, tap Get started and scan the QR code on the page on your desktop computer.
3) On your mobile app, the 8-digits code is displayed.

4) Enter the 8-digits code into the respective field on the following screen and click Finish registration.

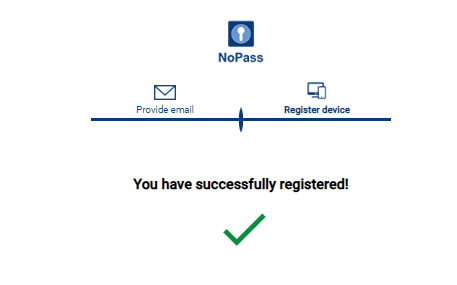
5) If the code you have entered is correct, the following notification is displayed.
6) Otherwise, the following error message is displayed.
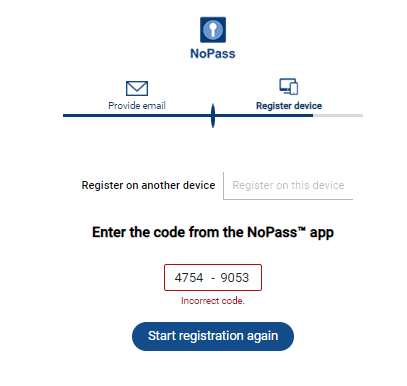
7) Then, your registration session on your mobile device is terminated and you are redirected to the Accounts page.
8) To complete the registration procedure, click Start registration again and perform steps 2- 4 and Procedure 1: Install the NoPass™ mobile app on your smartphone.
9) After your successful registration, your new account is displayed in the list of accounts in your NoPass™ mobile app.
10) At the same time, in your WordPress website you are redirected:
- to your User Profile page if you have no Accounts page created on your WordPress website
OR
- to your Accounts page
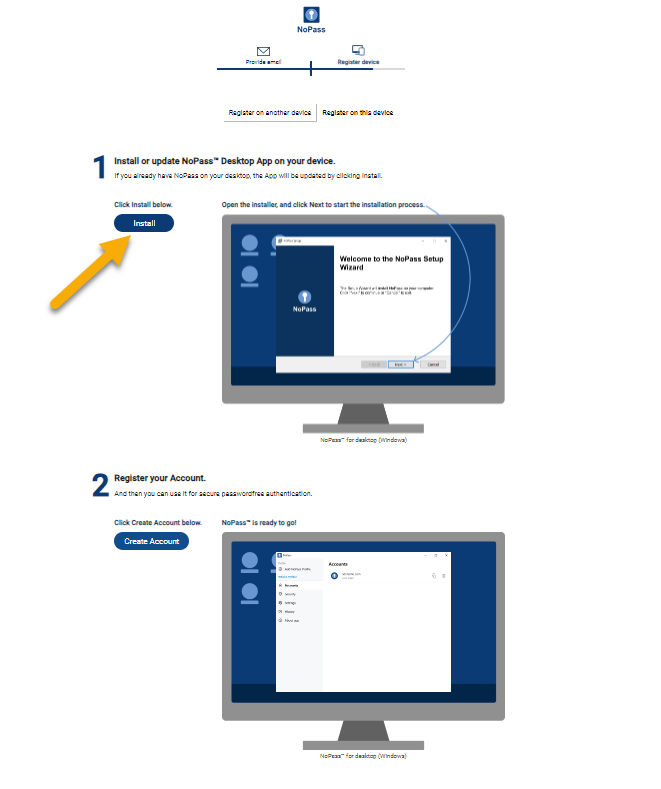
Procedure 2: Install the NoPass™ desktop app on the same desktop computer
1) On the QR-code page, click Register on this device.
2) On the NoPass™ installation page, click the Install button.
3) Download and run the setup.msi file. Note that such actions may require additional software on your computer, so, make sure that .Net Runtime is installed on your desktop computer.
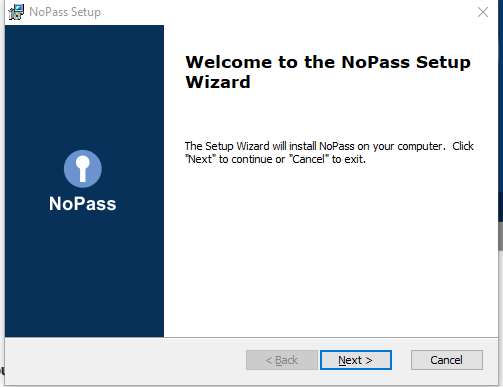
4) Follow the instructions in the NoPass™ Setup Wizard. To start the installation, click Next.
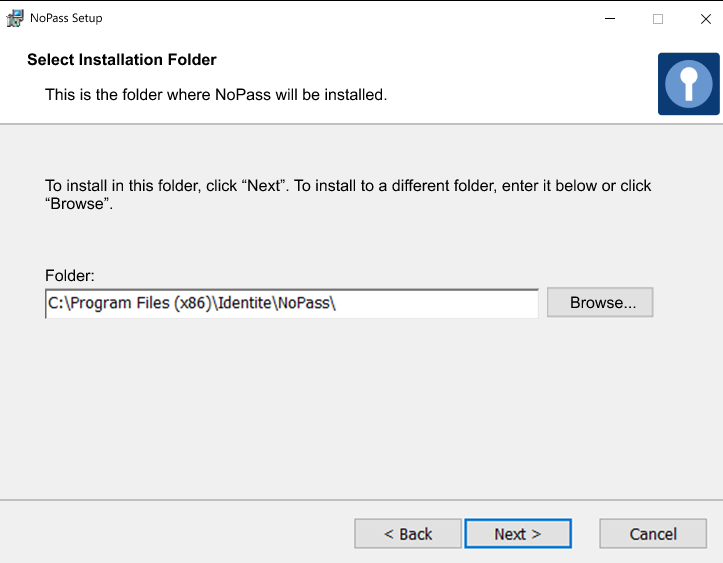
5) Choose the folder where the NoPass™ app will be installed and click Next.
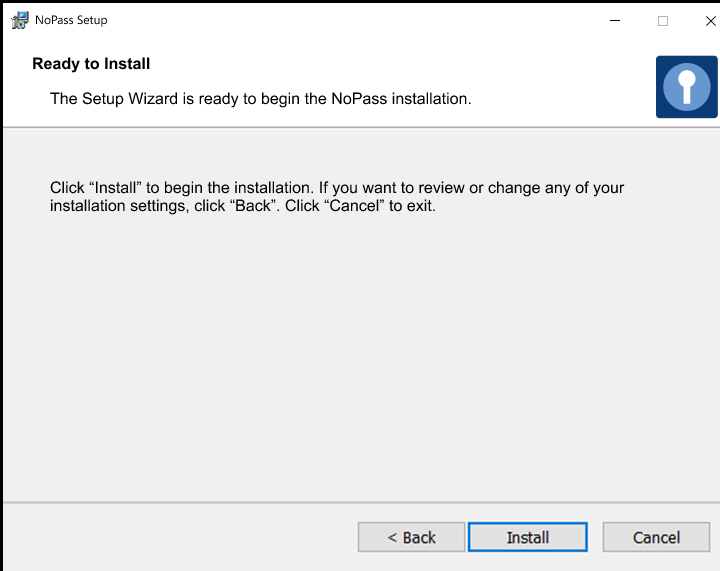
6) Click Install.
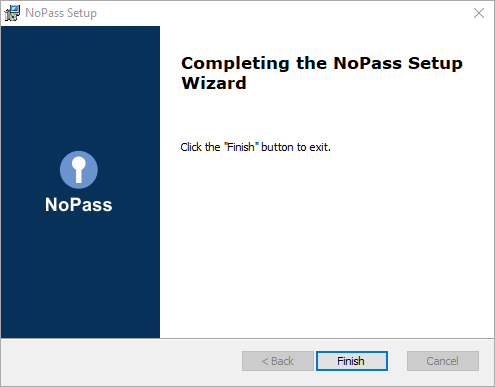
7) To complete the NoPass™ installation, click Finish.
8) Your NoPass™ desktop app is installed on your computer. To create your account, click the Create Account button.

9) The following notification is displayed.
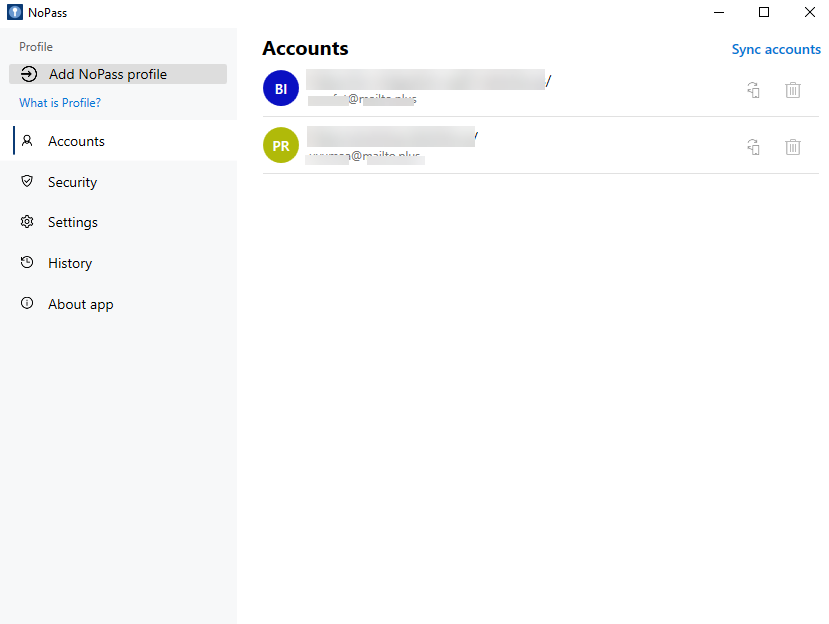
10) After your successful registration, your new account is displayed in the list of accounts in your NoPass™ desktop app.
11) At the same time, in your WordPress website you are redirected:
- to your User Profile page if you have no Accounts page created on your WordPress website
OR
- to your Accounts page
6. In case the registration fails, the following notification is displayed.
